Submit a request
Destiny Help Desk uses a step-by-step walk-through mode to help users create a request for submission.
Instead of walk-through mode, your district may have enabled the single-form page.
|
Important: Each district sets up their own Request Category hierarchy. Your categories may differ. |
|
Note: For more information on submitting a request in Help Desk, watch this video. |
Step 1: Who is this request for, and what is this request about?
- Select Requests > Submit Request > Help Desk. The New Help Desk Request page appears.
Note: This screen will vary, depending on how your district has set up requests. 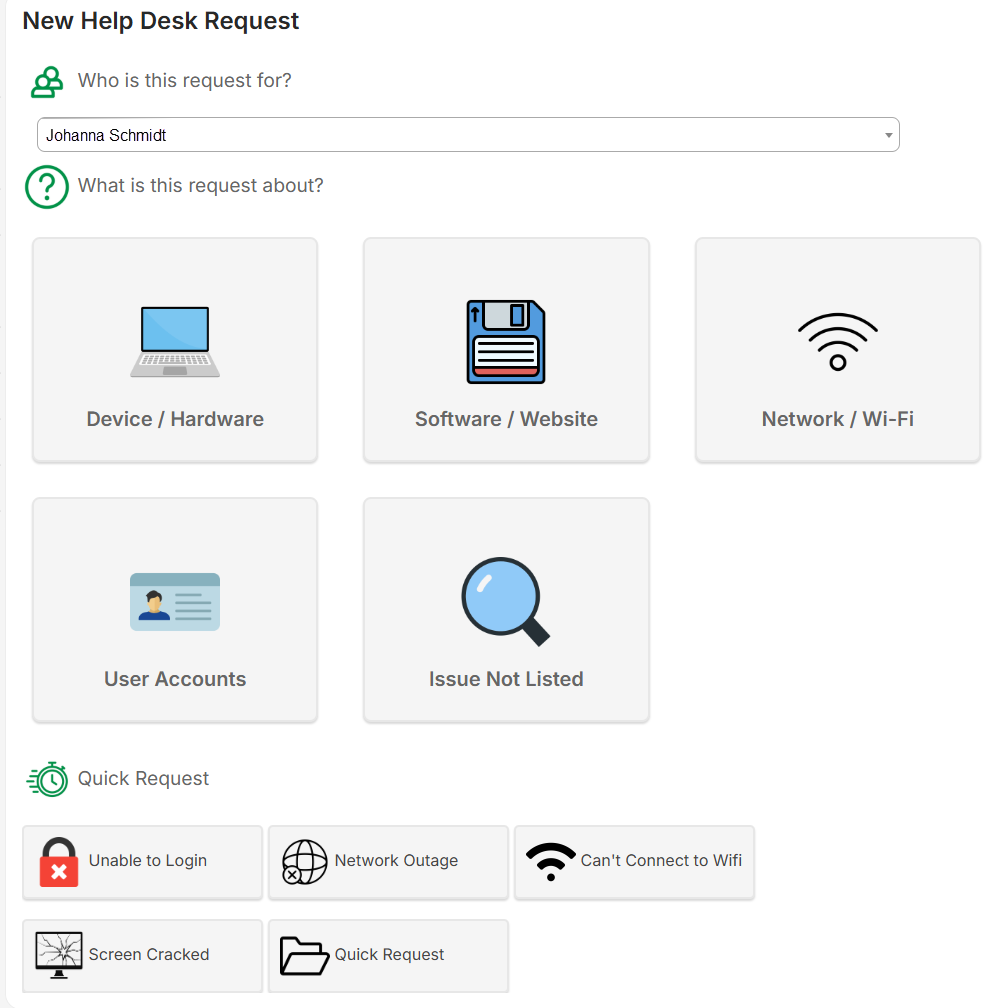
- Do the following:
- Select who the request is for.
Notes:
- Your name is the default.
- If you have the Can Submit Request on Behalf of Others permission, use the drop-down to select the user this request is for.
- Click the category your request most closely aligns with.
- Continue clicking the request category that most closely aligns with your issue until you get to the location page.
Note: If you choose a Quick Request, the final review form appears. Skip to Step 3: Final Review. - Select who the request is for.
Step 2: What is the location of this request?
- On the location page, do any of the following:
Notes:
- This step does not appear if the requestor has a default building and space on their user profile page.
- This page pre-populates a building and space from your request history. You can override the default selection.
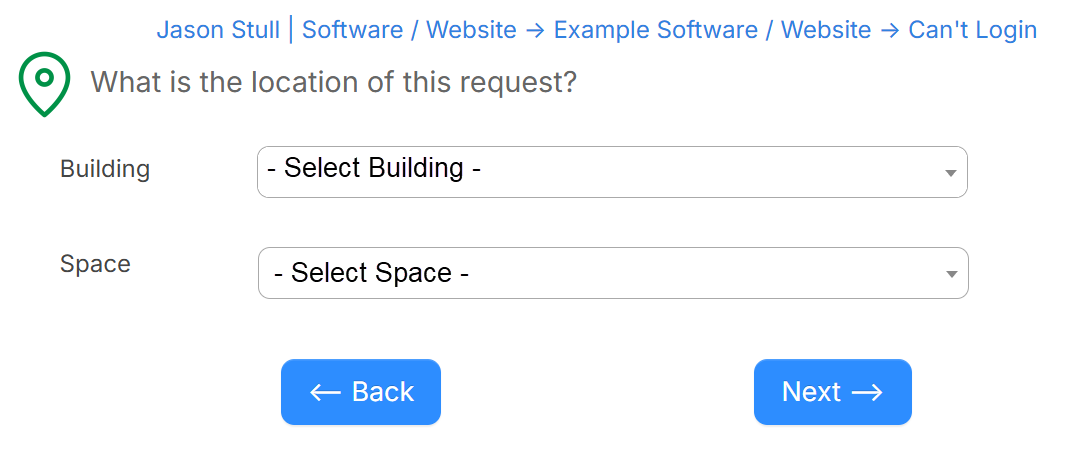
- Use the drop-down to select a Location.
- Use the drop-down to select a Space.
- Click Next. The Request page shows all the details entered thus far.
Step 3: Final Review
- Review the request to ensure the correct information has been auto-entered in the fields.
- Complete any remaining fields.
- If any custom fields are displayed, such as Additionally Notify, fill in the information.
- In the Asset field, type or scan the asset's barcode.
- Click Submit Request.