Manage floors
Floors in Destiny Help Desk give more specific information about where an item is located.
Users with the Manage Site Settings administrative permission can add floors and link them to existing buildings, and then link them to existing spaces.
You can customize your view of this page.
To add a new floor:
- Select Settings > Setup Items > Manage Floors.
- Click + Add Floor. The Manage Floor page appears.
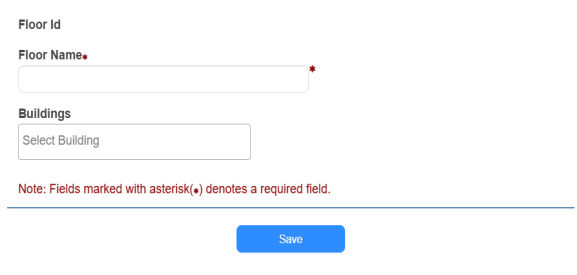
- Do the following:
- Enter a floor name.
- Select a building.
- Click Save.
To edit an existing floor:
- Select Settings > Setup Items > Manage Floors.
- Next to the floor you want, click
 . The Manage Floor page appears.
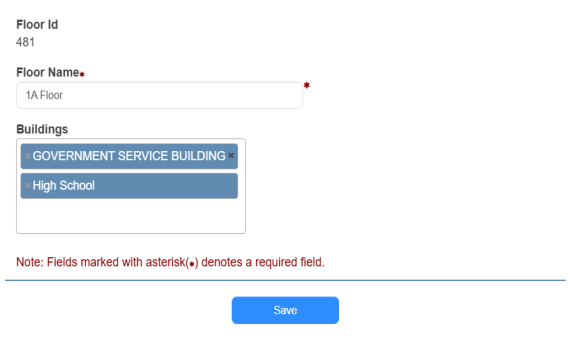
- Make the desired edits.
- Click Save.
To delete a floor:
Note: Floors cannot be deleted if they are linked to a space. |
- Select Settings > Setup Items > Manage Floors.
- Next to the floor you want, click
 . A confirmation pop-up appears.
 - Click OK.
To link a floor to a space:
Note: Buildings must be set up prior to adding or editing spaces. Floors that appear are based on the selected building of the space being edited. |
- Select Locations > Manage Spaces.
- Next to the space you want, click
 . The Manage Building Space page appears.
- Select the desired floor.
- Click Save.