Manage buildings
By setting up buildings in Destiny Help Desk, requests can be auto-assigned to specific users or teams at those buildings. You can also filter pages by building.
Add buildings to meet your district's needs. A building can be a school or district office. If an elementary and middle school are in the same building, you can either add one building for both, or add each as its own.
By setting up each school as a separate building, when a request notification is sent, only the school that should receive the notification will. You will also be able to see data for each specific school.
Before users with the Manage Site Settings administrative permission can add, edit, inactivate, and delete buildings, they must add Campuses/Locations.
Note: To sync items with Resource Manager, you need to edit an existing building, and then link the Destiny Site and the Default Space to that building. |
You can customize your view of this page.
To add a new building:
- Select Locations > Manage Buildings.
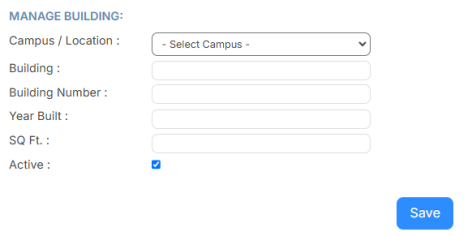
- Click + Add Building. The Manage Building page appears.
- Do any of the following:
- Select a Campus/Location.
- Enter the following:
- Building name
- Budget Code
- Building Number
- Year Built
- Square footage
- To hide this building, deselect the Active checkbox.
- Click Save.
To edit or inactivate an existing building:
- Select Locations > Manage Buildings.
- Next to the building you want, click
 . The Manage Building page appears.
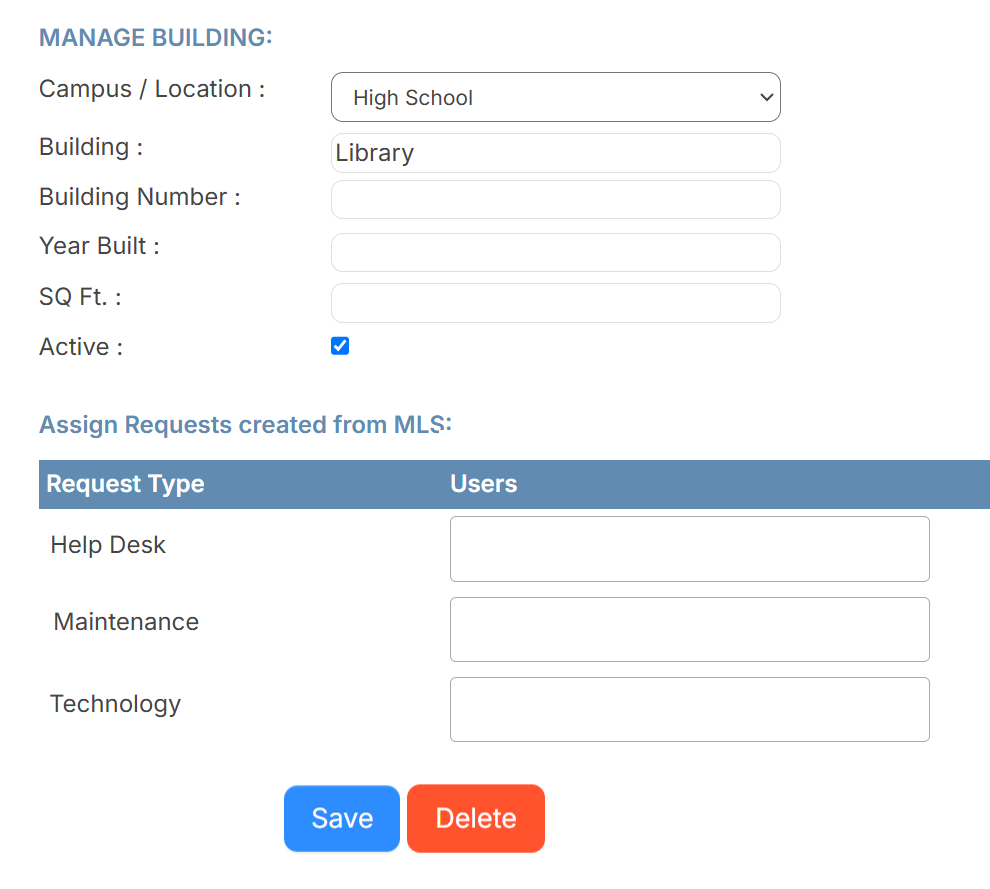
- Do any of the following:
To... Then... Edit the building - Make the desired edits.
Notes:
- If you are setting up items to sync with Resource Manager, ensure you select an option from the Destiny Sitesand Default Space drop-downs.
- The Default Space field is required; however, it does not affect searching, so you can enter something generic.
- Click Save.
Inactivate the building
Note: Inactivating a building prevents it from being associated with new requests, but keeps past data. - Deselect the Active checkbox.
- Click Save.
- Make the desired edits.