Receive inventory
Help Desk users with the Edit Inventory permission can receive inventory.
To receive inventory:
- Select Inventory > Receive Inventory. The Receive Inventory page appears.
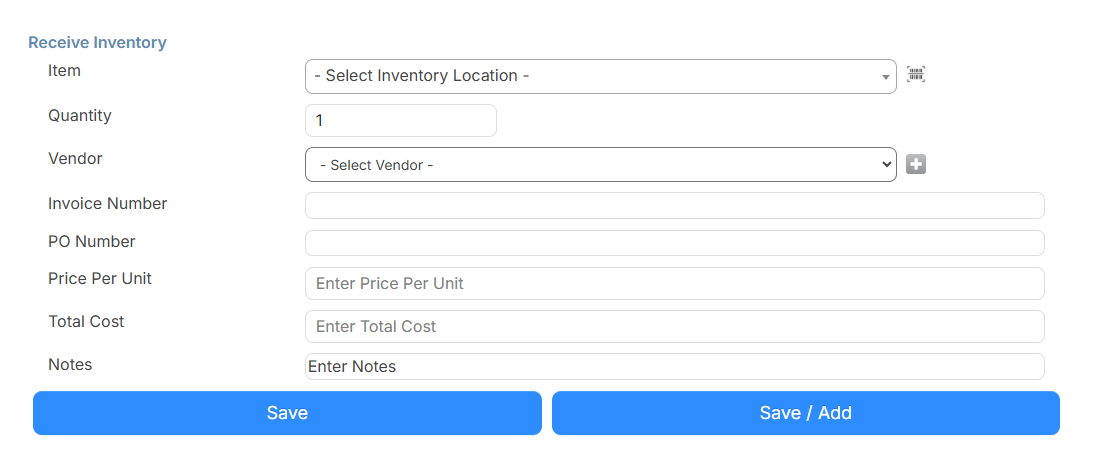
- Select the Item location from the drop-down, or click
 to scan the barcode of the item you are receiving.
 - In the Quantity field, enter the number of items being received.
- Use the Vendor drop-down to select where the items came from.
Note: If the vendor is not in the drop-down, you can click
 to add a new vendor.
 - Enter the Invoice Number and PO Number.
- Enter the Price Per Unit.
Notes:
The Total Cost will be automatically calculated based on the Quantity and Price Per Unit.
If the Auto Calculate Inventory Unit Price (Settings > Setup Items > General Settings > Inventory tab) setting is No, users will have the option to update the unit price to match the price per unit of the receiving orders.
- Enter notes about the inventory.
- Do one of the following:
- Click Save.
- To save and receive more inventory items, click Save / Add.