Manage building areas
Building areas in Help Desk are a group of spaces within a building, such as all the classes in the science or math hall, or the third grade wing. They are the central object used to calculate a Facilities Cost Index (FCI) once issues are logged for Building Areas.
Before users with the Manage Site Settings administrative permission can manage building areas, they must set up buildings.
You can customize your view of this page.
To add a new building:
- Select Locations > Manage Buildings Areas.
- Select Actions > Add Area. The Manage Building Area page appears.
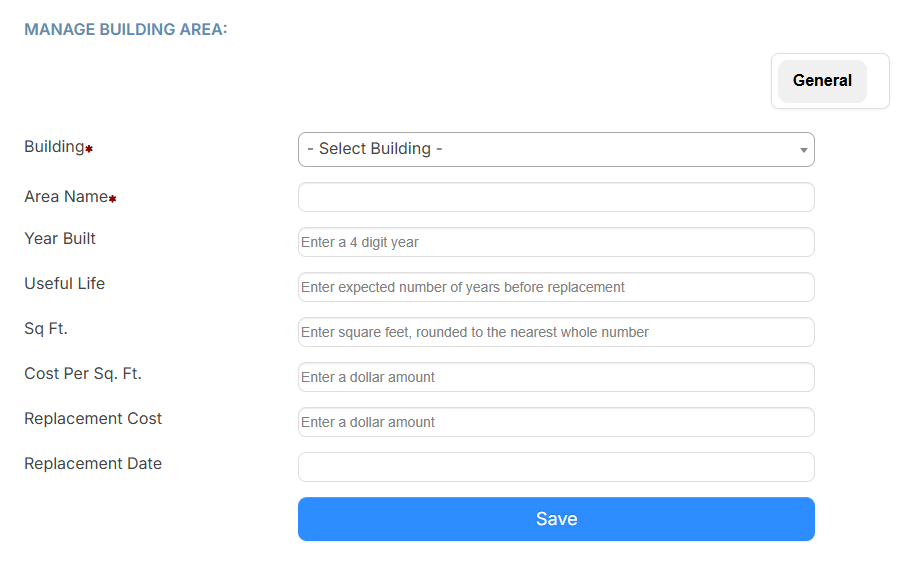
- From the Building drop-down, select the building where the area is located.
- Enter the name in the Area Name field.
- Do the following:
- Enter the Year Built.
- In the Useful Life field, enter the expected number of years before a replacement of the area is needed.
Note: The Replacement Date field will automatically be calculated after these two fields have values entered. You can update the Replacement Date field, if needed.
- Do the following:
- In the Sq Ft. field, enter the square foot of the area, rounded to the nearest whole number.
- In the Cost Per Sq Ft. field, enter the amount per square foot it cost to build the area.
- Click Save.
|
Note: The Replacement Cost field will automatically be calculated after these two fields have values entered. You can update the Replacement Cost field, if needed. |
To edit, inactivate, or delete an existing building area:
- Select Locations > Manage Buildings Areas.
- Do any of the following:
To... Then... Edit the building area - Select the building name, or click
 .
. - Make the desired edits.
- Click Save.
Inactivate the building area
Note: Inactivating a building area prevents it from being associated with new requests, but keeps past data. - Select the building name, or click .
- Deselect the Active checkbox.
- Click Save.
Delete the building area
Note: The Delete button only appears if no requests are associated with this building area. - In the building name row, click
 .
. - Click OK on the confirmation pop-up.
- Select the building name, or click