Run a Labor Report
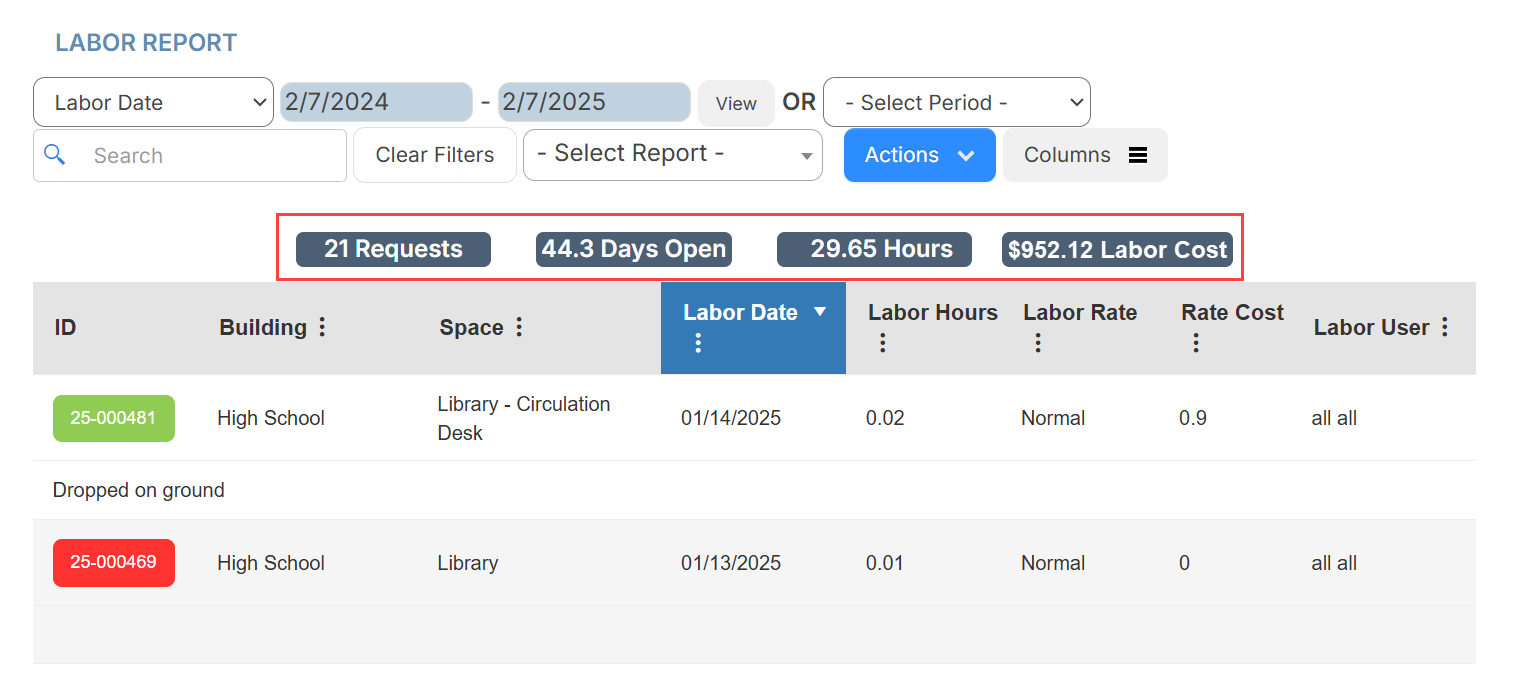
Destiny Help Desk users with the View Labor and Purchases Reports permission can run a Labor Report. This report shows the total number of labor hours for each user, the average days a request is open, and the total labor costs.
You can customize your view of this page.
To view the Labor Report, select Reports > Labor Report. The report defaults to today's date.
To target the data you want, do any of the following:
| To... | Then... | |
|---|---|---|
| Modify the date range |
|
|
| Choose a preset time period | Use the drop-down to select the desired time period. | |
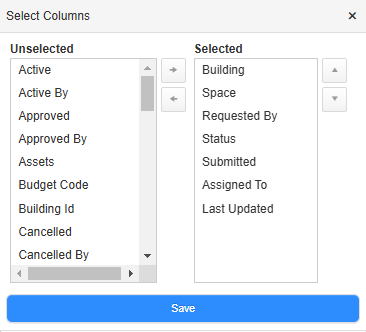
| Add or remove columns |
|
|
| Filter a column |
|
|
| Print the report | Select Actions > Print PDF. The report appears in your Downloads folder. | |
| Export an Excel file | Select Actions > Export to Excel. The report appears in your Downloads folder. |
 .
.