Mass update requests
Users with the Mass Update administrative permission can update and assign multiple requests at once, including adding notes.
| Important: Mass update cannot be undone. |
To mass update requests:
- Select Requests > View All Requests. The All Requests page appears.
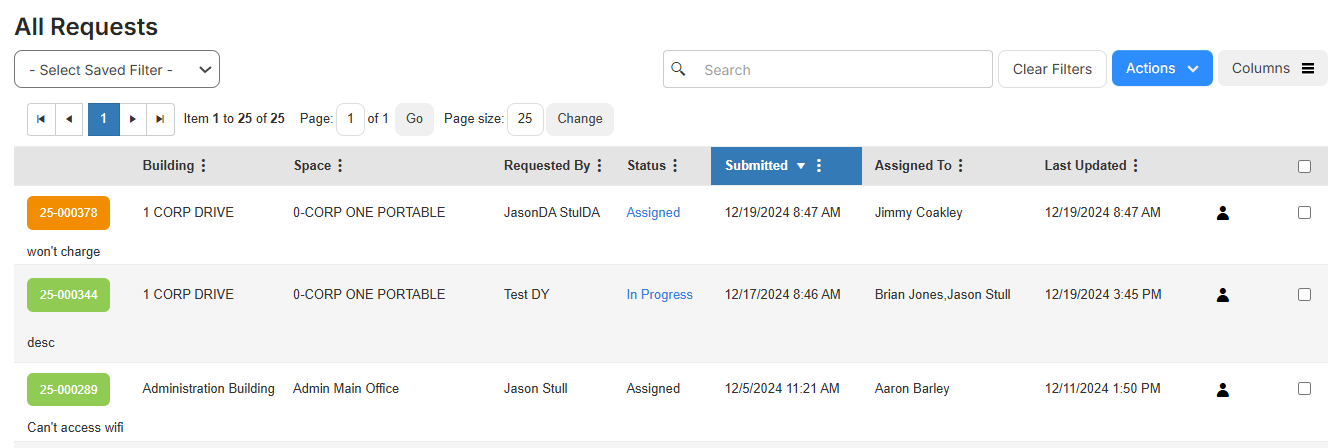
- Select the checkboxes next to the requests you want to mass update.
- Select Actions > Mass Update.
- Next to each field you want to mass update, select the checkbox, and update the field.
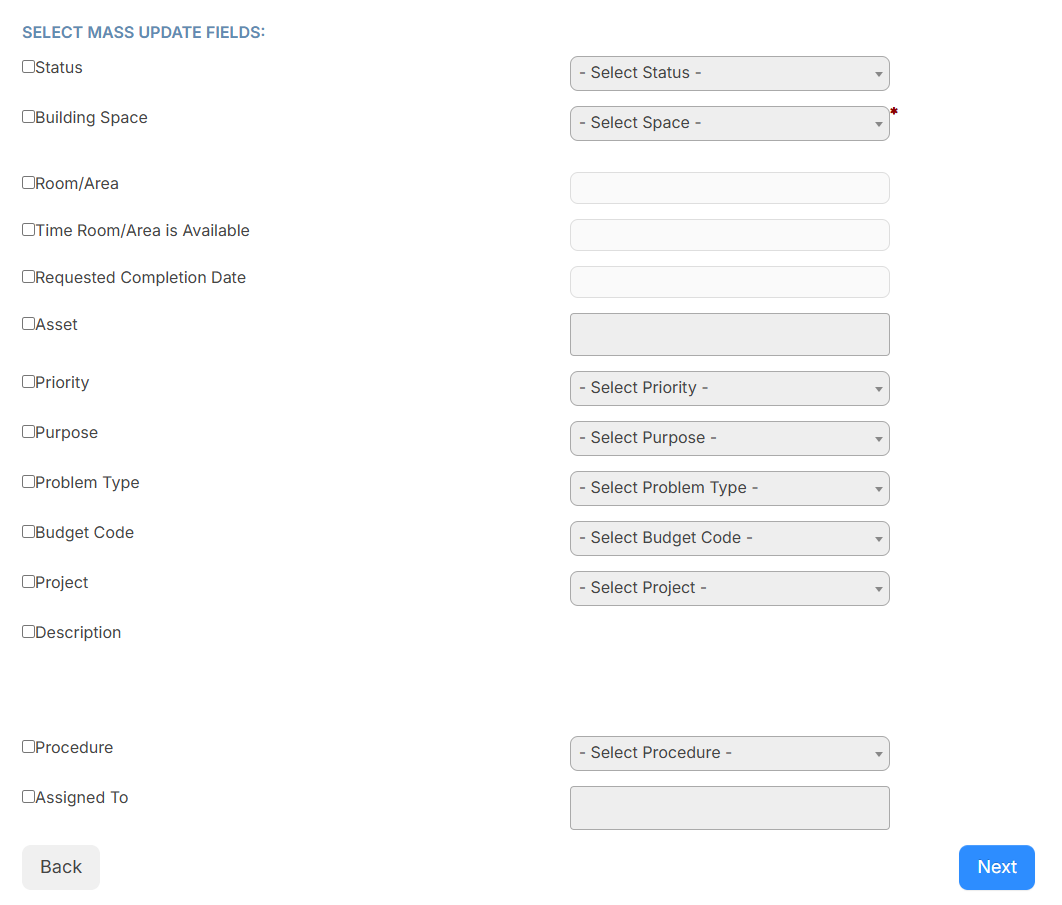
Notes:
- If you select the Request Category checkbox:
- If a field was in the old category and is in the new category, that field and data are kept in the request.
- If a field was in the old category and is not in the new category, that field and data are deleted from the request.
- If you select the Assign To User(s) or Assign To Team(s) checkbox, only users or teams that can be assigned requests appear.
- If you add Notes, you can limit the note to admin users by selecting the Internal checkbox. An emails is sent to all applicable users from the selected requests.
- If you select the Request Category checkbox:
- Click Next. The Confirm Mass Update page appears.
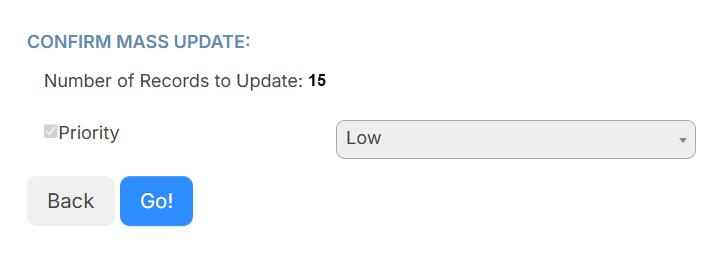
- If desired, update the priority.
- Click Go! A confirmation pop-up appears.
- Click OK.
The Mass Update status changes to Success when it is complete.
There are additional options on the All Requests page that allow you to customize your view.