Manage asset audits
Destiny Help Desk users with the Edit Asset Space permission can perform asset audits. This permission gives you access to:
- The Perform Audit action on the following pages:
- View All Assets
- View All Assets (all fields)
- Asset tab when editing a Space record
- The Manage Audit page
The page also has features to customize your view.
To perform a new audit:
- Select Assets > View All Assets or View All Assets (all fields).
- Select the checkbox next to the assets you want to audit.
- Select Actions > Perform Audit. The Perform Audit page appears.
- Do any of the following:
- Enter a name.
Note: The name defaults to include a date/time stamp of when the audit was created. - Select a date.
- To add any additional assets:
- Do one any of the following
- Under Asset, search for an asset.
- Scan a barcode.
- Click Add Asset to Audit.
- Enter a name.
- For each asset, do any of the following:
- To verify the location of the asset, under Confirmed, select the checkbox.
Note: The name of the user conducting the audit is displayed under Confirmed User, and a date/time stamp appears under Confirmed Date.
- To update the location of the asset, under Location:
- Click
 .
. - Select the desired location.
- Click
 .
.
Note: Location changes update on the asset record after the audit is complete. - Click
- To remove an asset from the audit:
- Click
 . A confirmation pop-up appears.
 - Click OK.
- Click
- To verify the location of the asset, under Confirmed, select the checkbox.
- When all assets in the audit are accounted for, click Submit Audit.
When an asset is included in an audit, an Audit tab populates on the asset record detail page to track the audit history.
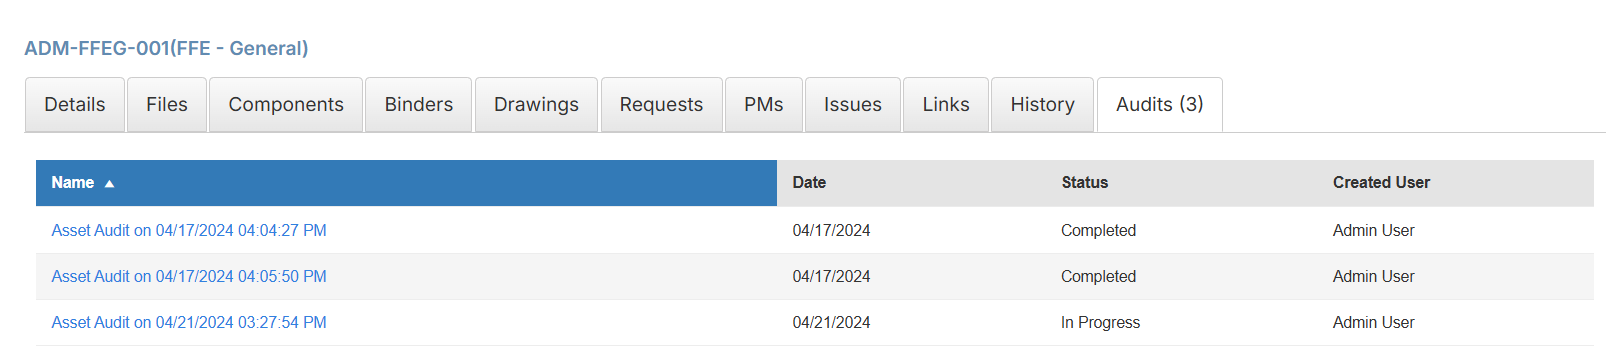
To view the associated audit, click its name.
The date shows the audit creation date.
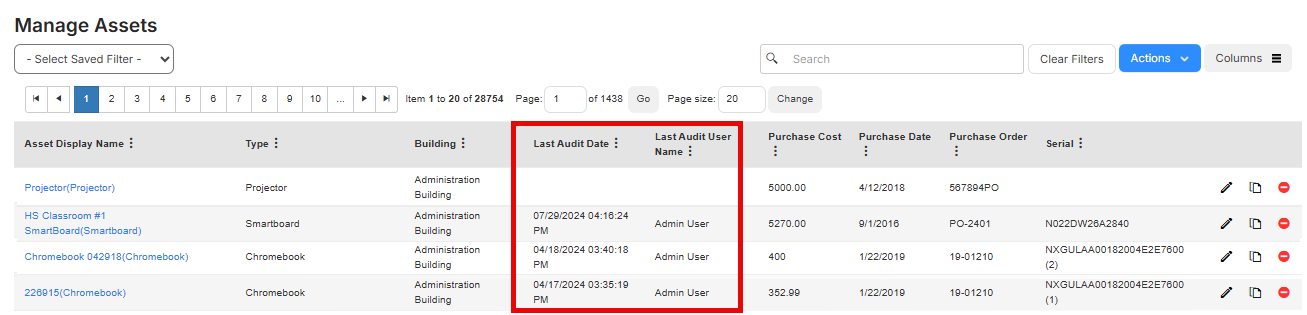
When an asset is confirmed in an audit, the Last Audit Date and Last Audit User Name are updated.
- Select Assets > Manage Audits. The Manage Audits page appears.
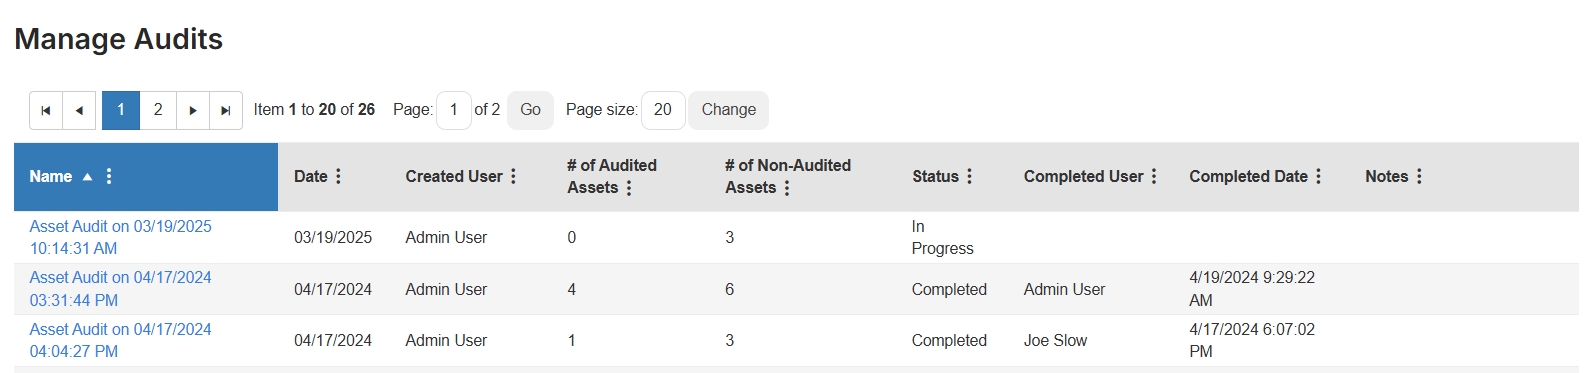
Note: If an audit is completed, it is read-only.
- Click the name of the audit you want.