Create a custom form for outside users
Destiny Help Desk users with the Manage Site Settings administrative permission can set up a form to allow outside users to submit a request. When an outside user fills out the form, a request is generated that can then be managed internally.
To create a custom form:
- Select Settings > Custom Forms.
- Click + Add Custom Form. The Custom Form page appears.
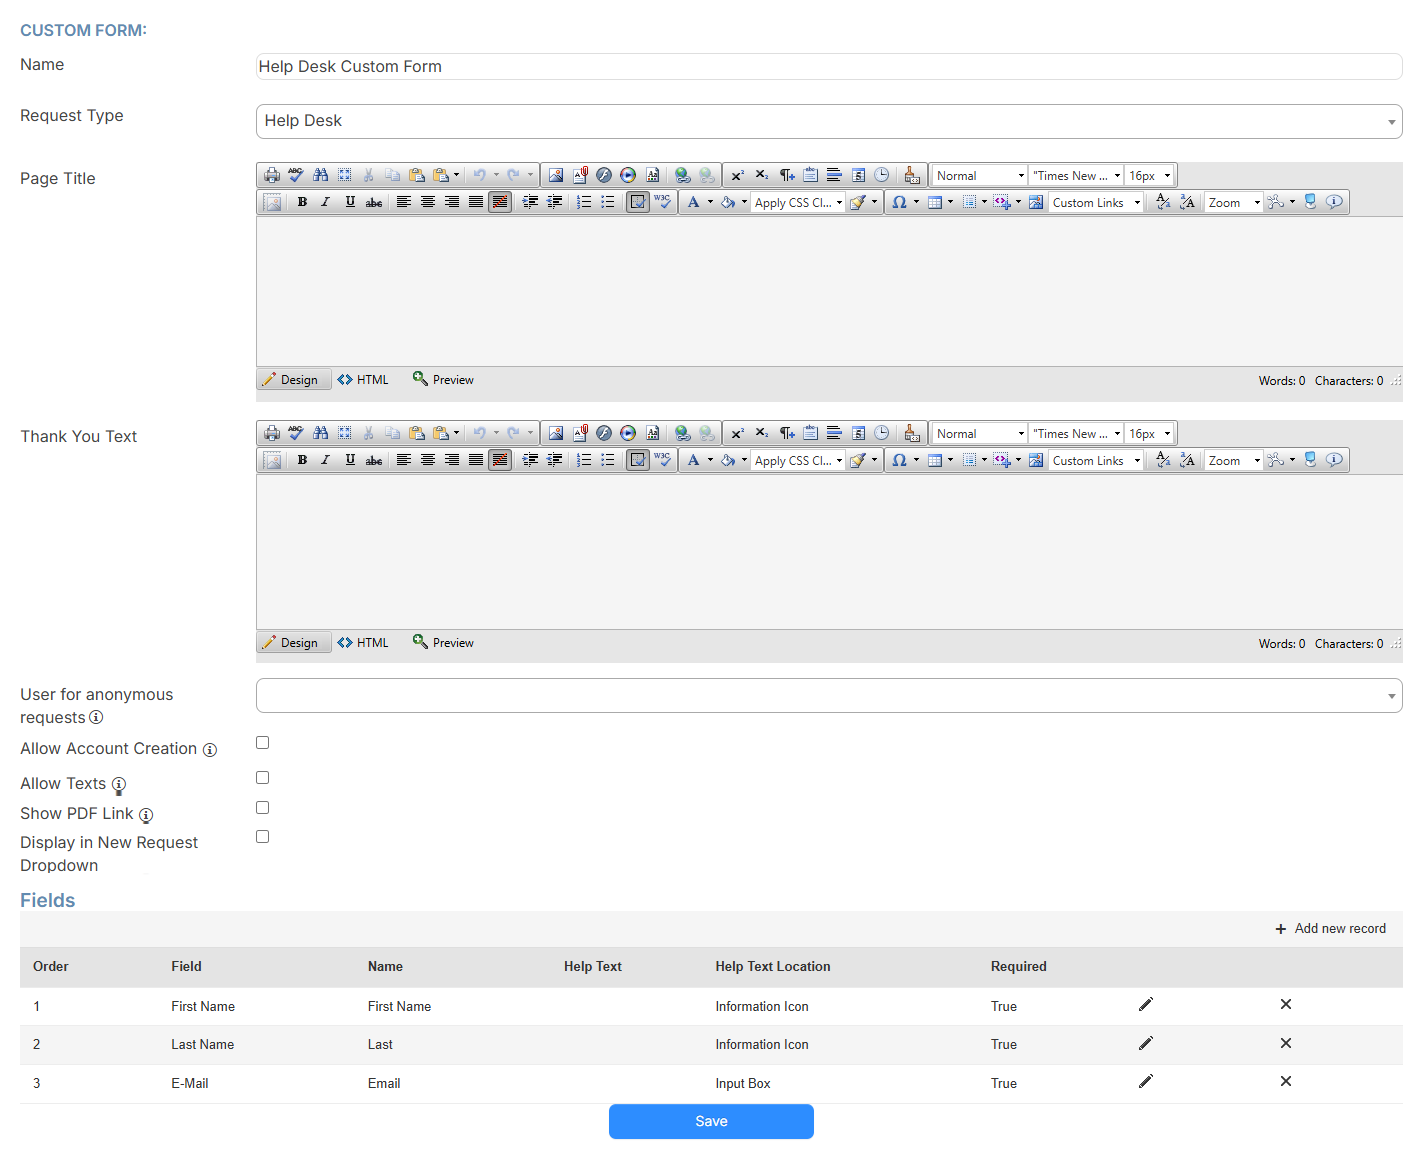
- Do any of the following:
Field Description Name Type the name of the custom form. Request Type Select the request types for the form. Page title: Customize what you want to appear on the form, such as the title, your school logo, and any text. Thank You Text Type the message you want to appear after the custom form is submitted. Use for Anonymous Requests If a user is not selected or an email is not provided, select the default user for this form. Allow Account Creation Includes a checkbox on the form allowing the person submitting the request to create an account. Allow Texts Includes a checkbox on the form allowing the person submitting the request to receive texts.
Notes:
- The Mobile Phone field must be added to the form.
- Standard message and data rates may apply.
Show PDF link Includes a button at the bottom of the page that lets the user download a blank PDF version of the online template. Display in New Request Dropdown Includes this custom form in the New Request drop-down. - To add any desired custom fields, click + Add new record. The Fields section expands.

- Fill out the following:
Field Description Order Select the order of the fields. Field type - Select Standard or Custom.
- Use the drop-down to select the desired field type.
Note: You can set up labels for custom fields.
Name Type the field's name. Help Text Enter any clarifying text for the user. Help Text location Select where you want the Help Text to appear:
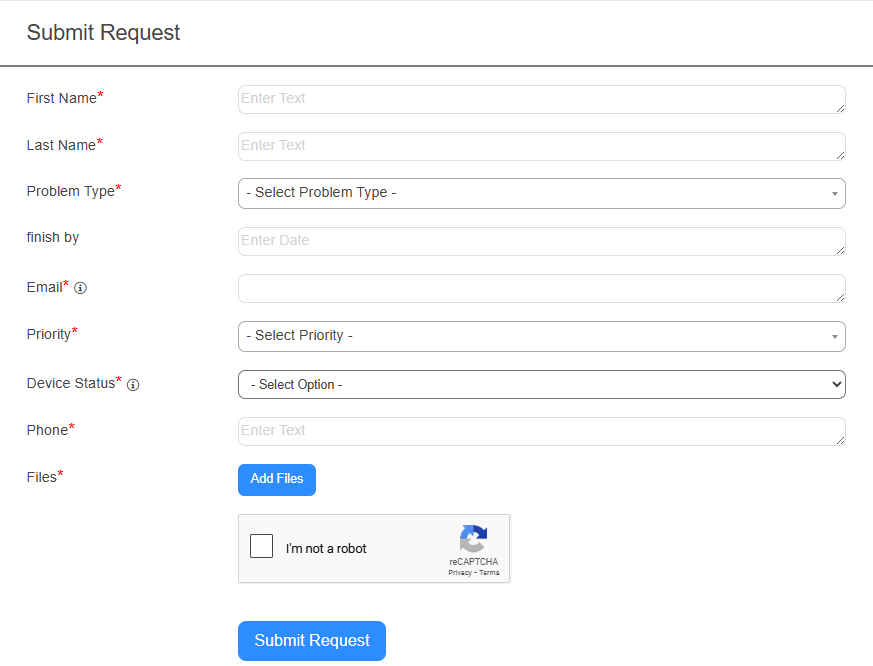
- Information Icon: An
 appears next to the name on the form. The Help Text appears when clicked or hovered over.
 - Input Box: The Help Text appears in gray font in the input field.
Required Do one of the following:
- Select True if the field is required. A * appears next to the field on the form.
- Select False if the field is optional.
- Click
 .
. - Repeat steps 4-6 for any additional custom fields you want.
- Click Save.
To access the custom form URL:
- Select Settings > Custom Forms.
- Next to the form you want, click
 .
. Note: This logs you out of Help Desk. The custom form appears.
- Copy the URL.
- Paste it where desired.