Set up auto-assign for requests
Destiny Help Desk users with the Manage Site Settings administrative permission can set up requests to be auto-assigned, based on the following criteria:
- Request type
- Building
- Problem type
| Example: You can auto-assign one user to handle all forgotten password requests or a user at the high school to handle all requests for 1:1 devices. |
- Select Settings > Manage Auto Assignments. The Manage Auto Assigns page appears.
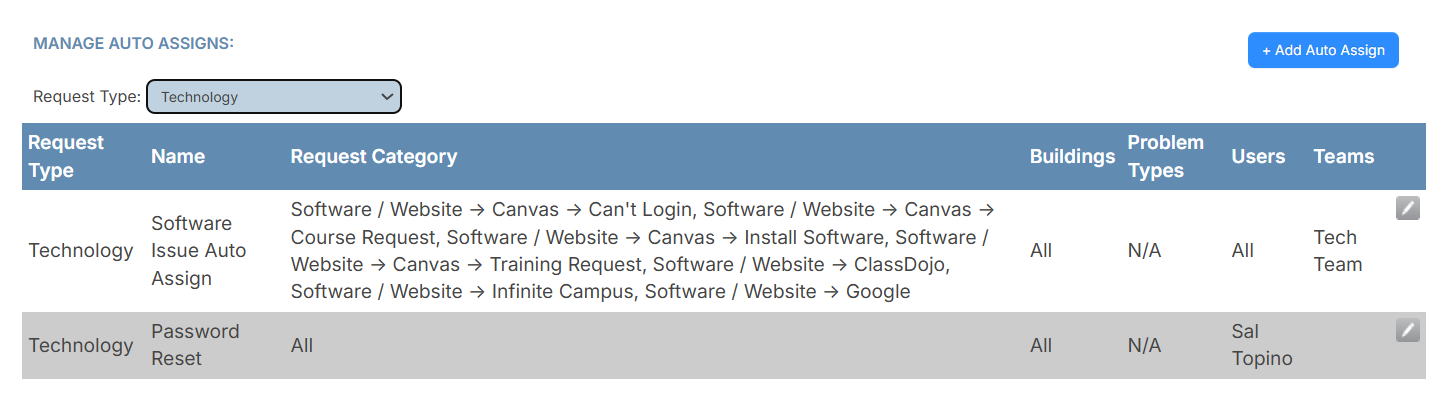
- At the top-right, click +Add Auto Assign. The Manage Auto Assign page appears.
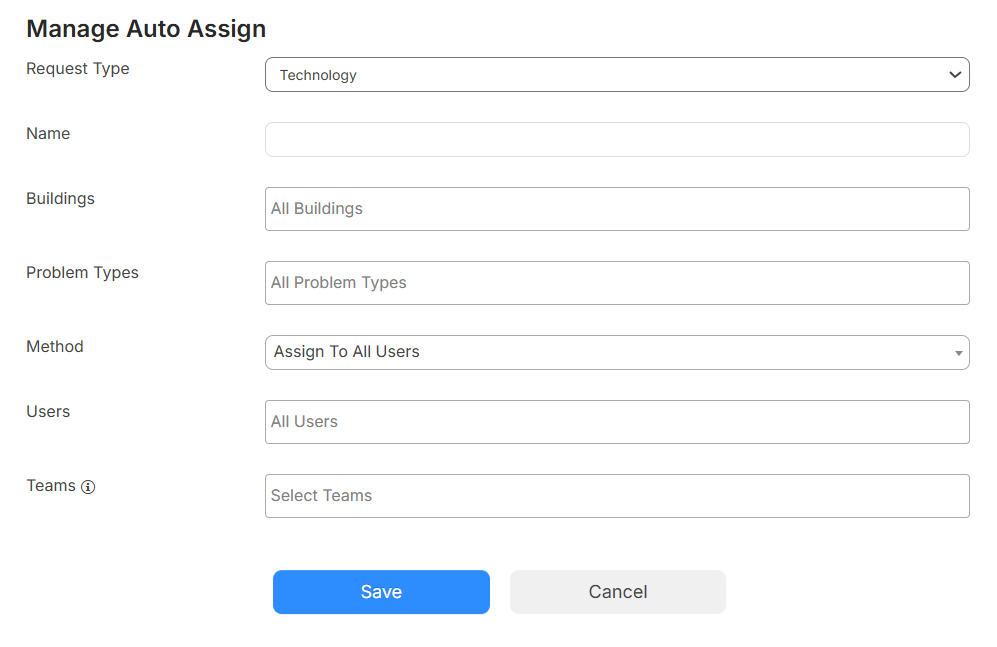
- Do the following:
- Enter a Name.
- Select the Request Type this rule applies to.
- Use the following multi-select drop-downs to select one or more options:
- The building(s) this rule applies to.
- The method(s) this rule applies to.
Note: There are three methods for auto-assigning:
Assign to All Users: The request will auto-assign to all selected users/teams.
Load Balance: The request will auto-assign to a single user based on the count of open requests by the user within the criteria of the auto-assignment.
Round Robin: The request will auto-assign to a single user based on the last assignment date within the criteria of the auto-assignment.
For both load-balancing and round-robin methods, you can "Skip" the assigned user of the request. Skipping will update the assignment to the next user in line, based on the method.
- The users(s) these requests are assigned to.
- The team(s) these requests are assigned to.
Note: Adding a team assigns any request meeting the chosen criteria above to everyone on that team.
- Click Save.
The request is automatically assigned to the selected user(s) and/or teams, who then receive an email notification.