Manage approval paths
When a new request should have a specific user or role approve it prior to being assigned, you can set up an approval path.
If there is a specific person, such as a department head, principal, or Director of Technology, include that user in the path. However, if anyone with a specific role can approve a request, then include the role in the path. It is best to choose one method or the other, versus both, to lessen the chance of confusion.
To add a new approval path:
- Select Settings > Manage Approval Paths. The Manage Approval Paths page appears.
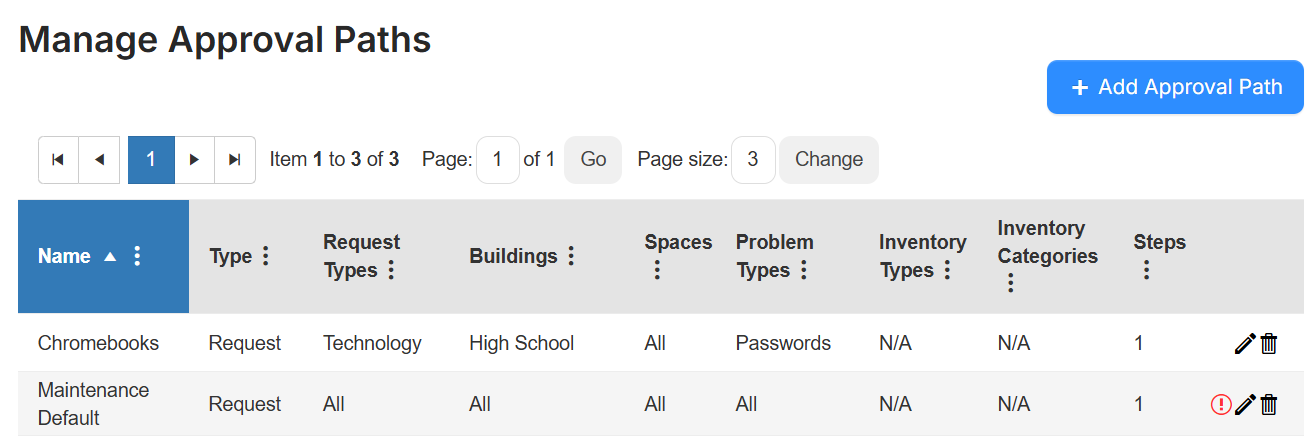
- Click + Add Approval Path. The Manage Approval Path setup page appears.
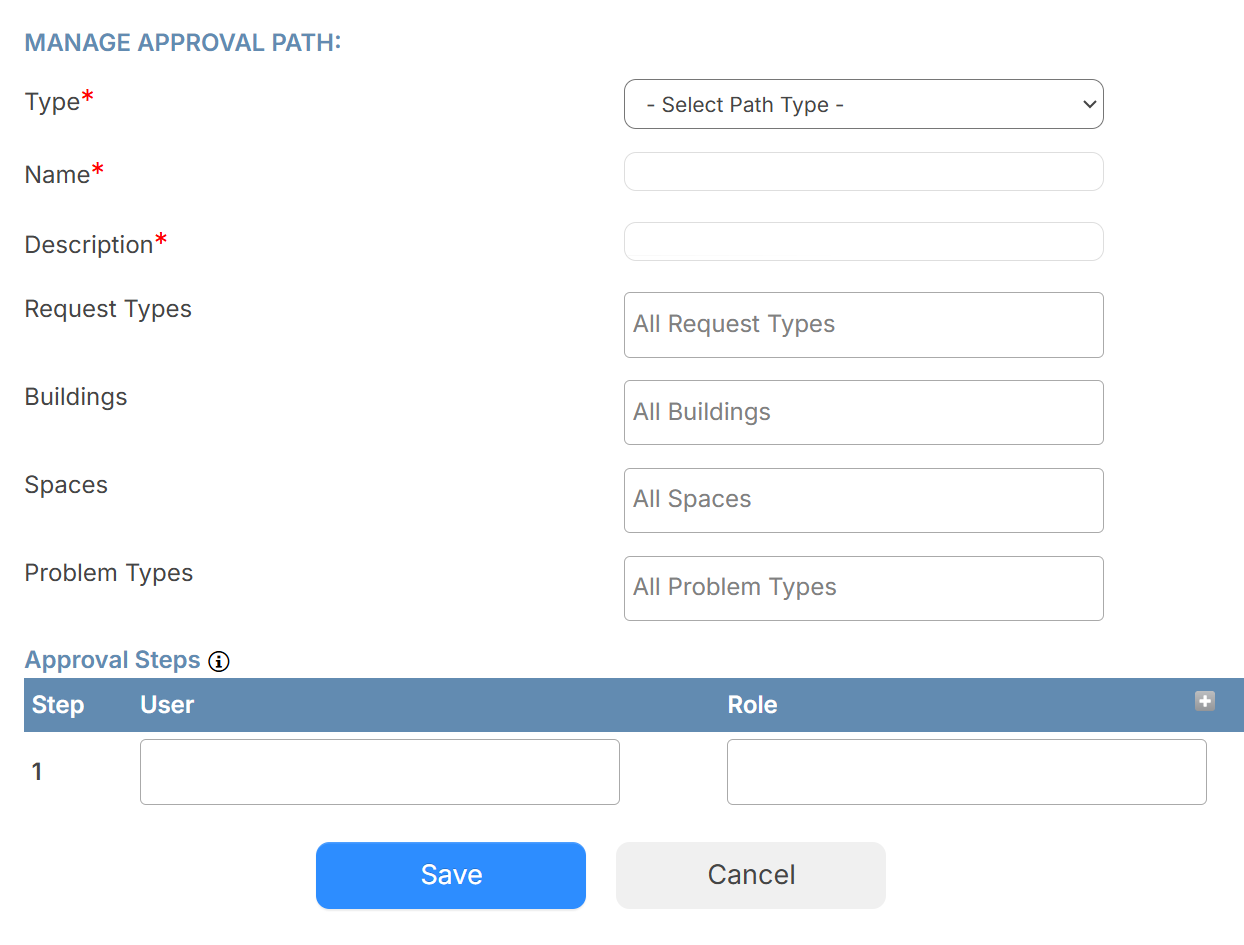
- Complete the following required fields:
- From the Type drop-down, select the approval path type: Inventory or Request.
- Enter a Name and Description.
- Do any of the following:
Field Description Request Types Select the request type: Inventory or Request.
Note: This is the same as what you selected above. Buildings Select the building(s) using the path. Spaces Select the space(s) using the path. Problem Types Select the problem type(s) using the path.
Note: A Problem Type is required to enable the approval path in a request. User/Role Select the user(s) or role(s) who will need to give approval.
Notes:
If multiple users are selected for one approval step, only one of those users needs to approve the request to keep it moving in the process.
- If you choose a role, all users with that role are notified of pending request approvals, and can approve that step.
- To add additional approval steps, do the following:
- In the blue bar under Approval Steps, click
 .
. - In the new row, enter the User or Role for the next step in the approval process.
- Repeat steps a. and b. to add as many approval steps as desired.
- In the blue bar under Approval Steps, click
- Click Save.
To edit an existing approval path:
- Select Settings > Manage Approval Paths.
- Next to the approval path you want, click
 .
. - Make the desired edits.
- To add additional approval steps, do the following:
- In the blue bar under Approval Steps, click .
- In the new row, enter the User or Role for the next step in the approval process.
- Repeat steps a. and b. to add as many approval steps as desired.
Note: To delete an approval step, next to the User or Role you want, click
 .
. - In the blue bar under Approval Steps, click
- Do one of the following:
- To save your edits, click Save.
- To delete the entire approval path, click Delete.