Add an internal note to a request
Admin users can add an internal note to a request. This note is visible to other users who can assign or are assigned a request, but not the requestor. You can also mass update notes for requests.
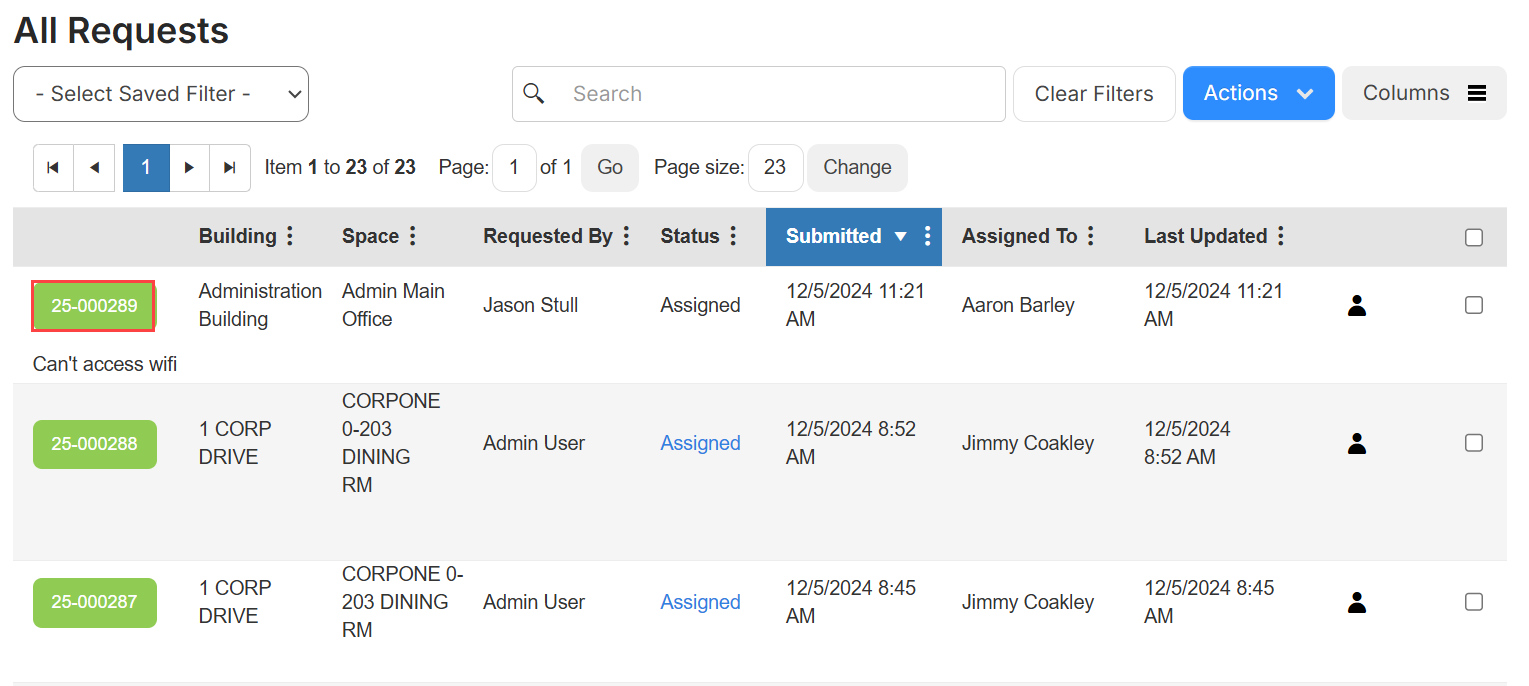
- Select Requests > View All Requests.
-
Find a request by searching or using a filter(s).
- Click the Request ID for the request you want to edit.
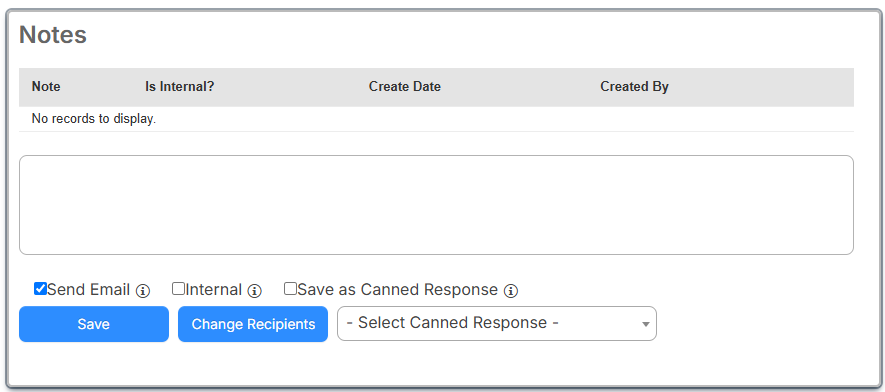
- Do any of the following:
- Enter the desired text.
- If you do not want to send an email, deselect the checkbox.
- To limit the note to admin users, select the Internal checkbox.
- To save as a canned response, select the checkbox.
- To use a canned response, select it from the drop-down. The response appears in the Notes field.
- To add or delete email recipients, click Change Recipients, select the desired recipients, then click Save.
- Click Save.
The request details page displays a Notes section.
Your note appears in the Notes section.
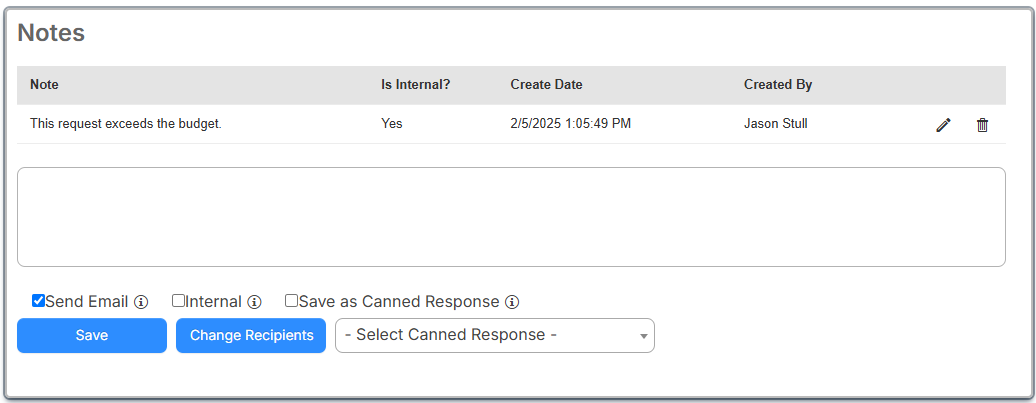
To edit an existing internal note:
- Next to the note you want to edit, click
 .
. - Make any changes you want.
- If you do not want an email sent, deselect the Send Email checkbox.
- Click Save.
To delete an internal note:
- Next to the note you want to delete, click
 .
.Note: Only the user who entered the note can delete it.
- On the confirmation pop-up, click Yes.